2 Ingredient DIY Hair Gel Recipe (with no flax seeds!)
Last updated on March 12, 2026 by Jessica Healey
Originally published on July 19, 2016
When I was a kid, I did dance and every performance my mother would lather my hair in gel so that it would fit the dance guidelines. So much gel! I had no idea what ingredients were in that hair gel, all I knew was that we needed the crazy strength stuff and if it came in a fun color then…all the better, eh!??
Of course, now I’m more aware about the stuff lurking in my beauty products. I now know that there are ingredients like benzyl salicylate, methylisothiazolinone, PEG-8, and the vague “fragrance” (which could be anything, really). Even though it might seem like the hair gel is just on my hair and not seem too likely to really effect my body, it can. Hair gel gets on your scalp and your hands. Once there it can soak into your body and it’s time to wonder what those ingredients are doing to you!
The ingredients I just mentioned above are only a few from one single container of hair gel.
There were actually many other ingredients, but just those four ingredients may have been linked to allergies, irritation, endocrine disruption, neurotoxicity, and organ system toxicity. Hmm, I think I’ll pass on all those risks!
If you are curious how toxic your current hair gel brand is, I highly recommend checking it out through EWG’s Skin Deep cosmetic database. Enter your product name and it will rate how toxic it is, and even break those toxins down by individual ingredients.
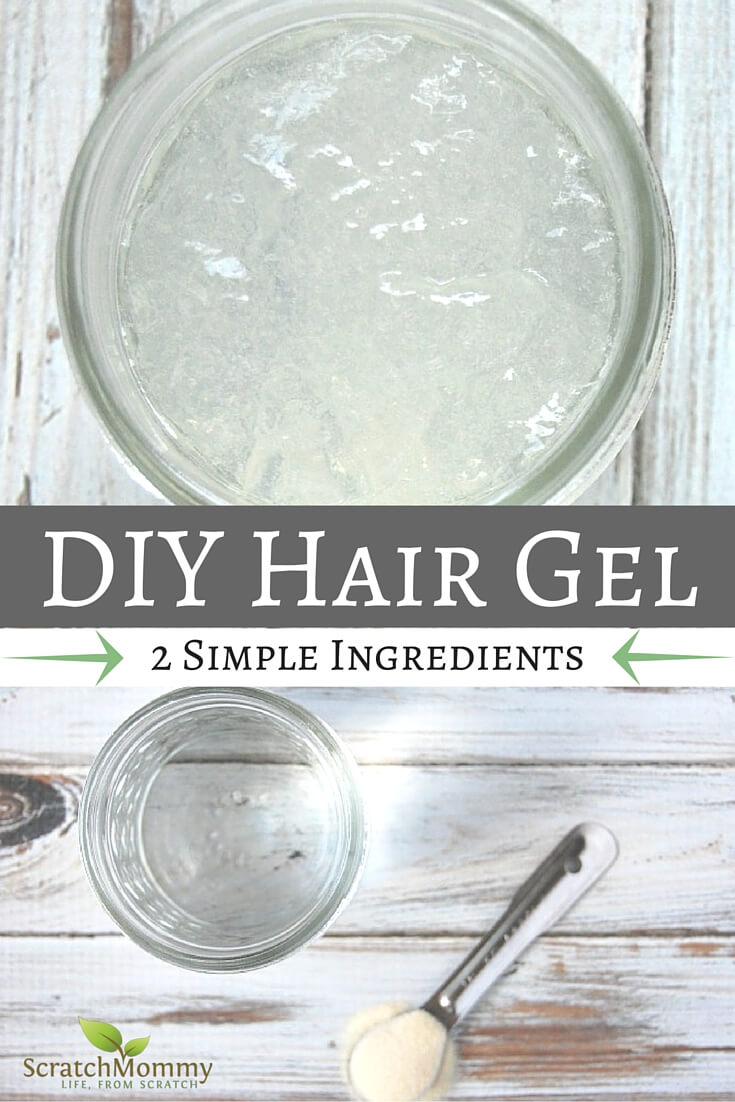
Thankfully, I’ve come across and easy way to make my own DIY hair gel! Sure, I could go find a great natural hair gel. I know there are a few great brands out there, but honestly…I hate having to do all that research to make sure a product is really as clean as it claims. Making my own hair gel ensures that it’s completely safe. It also means it’s very affordable and I can always find it! No need to worry about a store not having it in stock or having to wait for it to be delivered to your home. Plus, this DIY hair gel recipe could not be easier to create, with only 2 ingredients (and no pesky flax seeds)!
As I mentioned, making your own hair gel is incredibly easy. This is not a recipe that involves intricate methods or crazy ingredients. In fact, it’s very likely that you have all the ingredients in your kitchen! How handy is that? What’s more, this DIY hair gel can actually benefit your hair! The gelatin in this hair gel recipe is full of proteins that your hair just loves to soak up!

DIY Hair Gel Recipe
Ingredients
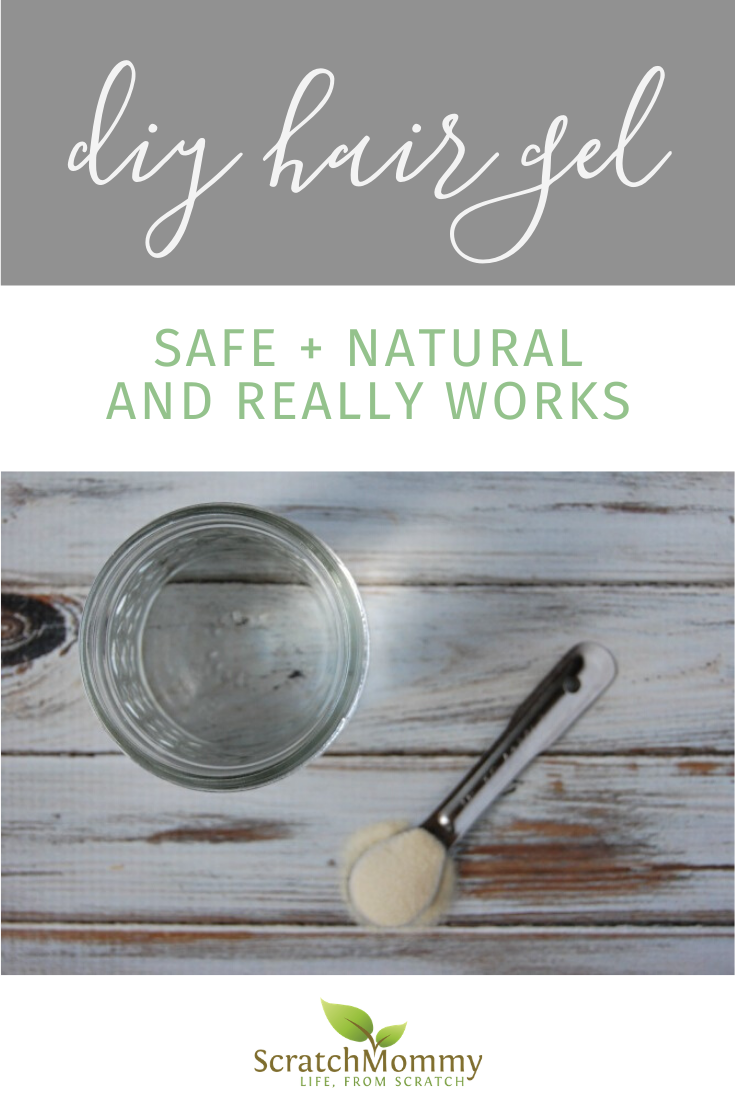
- 1/4 tsp. Unflavored Gelatin - Not Jello®! Click to find our favorite grass-fed gelatin. It's the bees knees.
- 1/2 cup Hot Water - Distilled H2O gives a longer shelf life
Instructions
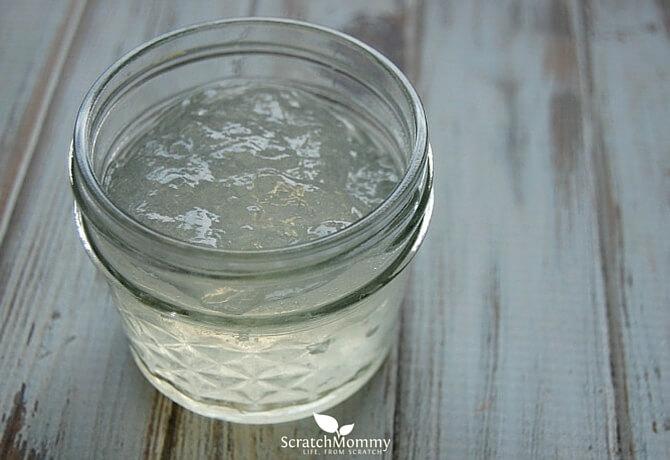
- Mix gelatin and hot water together in a bowl. Stir until fully dissolved.
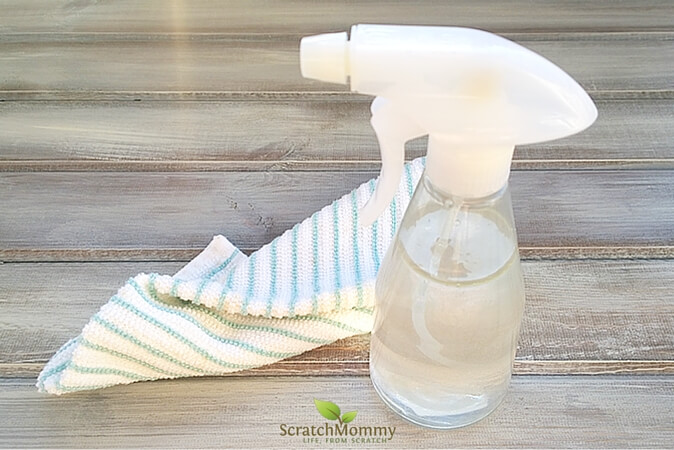
- Transfer mixture to a clean jar (or your preferred hair gel container). Place in the refrigerator for an hour or two to thicken up.
- Store in the refrigerator between uses. This mixture should last about 2 weeks. It lasts longest when you avoid getting your fingers in the mixture, so use a clean spoon.
How To Use Your DIY Hair Gel Recipe

Take a small amount of hair gel and rub between your palms. Rub through hair and style as you would with any hair gel.
This is the plain jane DIY hair gel, but I know all you Scratch Mommies just love to get creative…so feel free to add a couple drops of your favorite essential oil(s)!
Looking for more great DIY hair recipes? We’ve got you covered!
-
and for the bearded folks…DIY Beard Balm


Now, I may date myself here, but decades ago when synchronized swimming first became an Olympic event, they made known the secret to the swimmers hair: gelatin! I think then, they used Knox unflavored, but still; gelatin. So interesting!
Hello,
this works great ! My hair feels healthier too.
Could you please tell me: have you tried traveling with it?? I mean, how long could this gel last without being refrigerated ? I’m hoping that I could seal it up in a small container for a weekend, and that seems reasonable, but do you have anything experience with this?
Thanks for the great idea!
Tom
This should last about two weeks refrigerated. 🙂
I just made some of this and used your recipe exactly. I added 4 drops of essential oils. After sitting in the refrigerator for several hours, it is still not ‘gelled”. It does pull away from the sides of the container, but it is a liquidy consistency. How do I fix this?
Reply, please?
Your link for grass fed gelatin doesn’t work. What brand is it?
So sorry! I updated the post. This is the grass-fed gelatin I use.
Recently just made this! It’s perfect! Especially with owning a glitter gel shop.
I was wondering if I could add coconut oil to moisturize as well. Being i have curly hair and need lots of moisture the less stuff to put in the better!
Yay! So glad you love it, too. You could try adding a tablespoon to start of fractionated coconut oil. See how it goes! If you do, please let me know. I’m also curious how this would turn out. 🙂
FYI Jello and Gelatin is the SAME they are BOTH made from animal byproducts. You cook the bones in water until a gelatinous liquid appears. Jello is made from Gelatin with flavoring and sugar. Knox Gelatin or Gelatin is no additional additives. Please do not attempt to make it seem like there is a major difference. They are the same the process for making it still needs to cook the bones until the gelatinous liquid is present. This is animal based.
Correct. I have never seen a plain uncolored package of Jello®, so that is why I recommend Vital Proteins.