DIY Shea Butter Lip Balm (great for cold sores)
Last updated on March 12, 2026 by Jessica Healey
Originally published on November 29, 2016
Truth. I have never used shea butter in a DIY skincare recipe before. …but, after reading here on Scratch Mommy about how incredible shea butter is for your skin, I just had to give it a try.
Shea butter comes from the African Shea tree and is extracted from nuts produced by the tree. Shea butter is used in many cosmetics because of its moisturizing properties. Research has shown that shea butter also has anti-inflammatory properties, and assists the skin in creating collagen. And since she butter doesn’t absorb UV rays very well, it has also been used as a natural sun block.

All of this means that your skin loves shea butter AND that raw organic shea butter is exceptional at protecting your skin from the elements. Which I completely need during winter. And with winter, the season of chapped lips and cold sores begins, in earnest. If your skin is anything like mine, winter is always brutal to it. …especially to the lips.
So this fall, I decided it was high time to create a DIY shea butter lip balm for chapped lips and cold sores.

I’ve always loved the healing feeling of lip balms when I apply them, but most standard retail brands contain multiple ingredients that aren’t actually helpful in doing…anything helpful! They actually lack moisturizing and nurturing our lips need and may actually perpetuate a feeling of dryness…so that you use more. So, let’s skip those unnecessary ingredients, right?!
Also, learn more here on the blog: Are Lip Balms Safe?
When retail brands fail me, I usually start experimenting with DIY recipes to solve the problem myself. I ended up creating a moisturizing lip balm from shea butter, coconut oil, beeswax, raw honey, and lemon balm. ...and it has been perfect for me and my family!
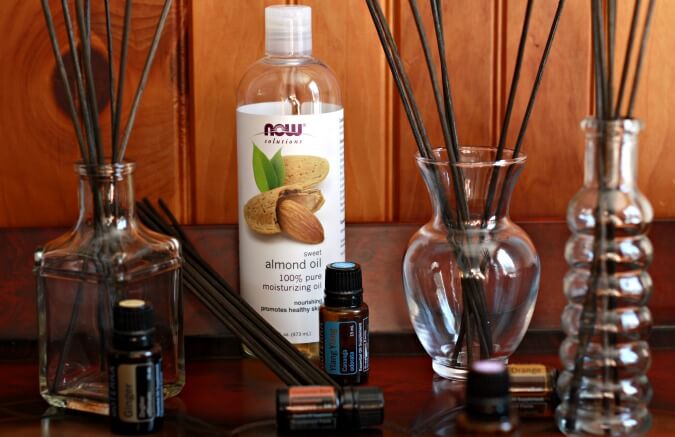
You can use any of your favorite essential oils (perhaps a blend) in this recipe, but the following essential oils have been shown to be helpful for lips:
- Lemon balm
- Orange
- Chamomile
- Lavender
Making this DIY shea butter lip balm was sooooo much easier than I expected it to be, which makes me a happy woman.

DIY Shea Butter Lip Balm Recipe
Equipment
- 1 Double-boiler - I use a medium pot & a glass bowl to sit on top of the pot with simmering water
- Small funnel - or pipettes, which are actually quite handy to keep around when DIYing
- 20 Lip balm tubes - or small tins or glass jars
Ingredients
- 1 oz Shea Butter
- 1 oz Beeswax
- 1 oz Coconut Oil
- 1 tsp Honey
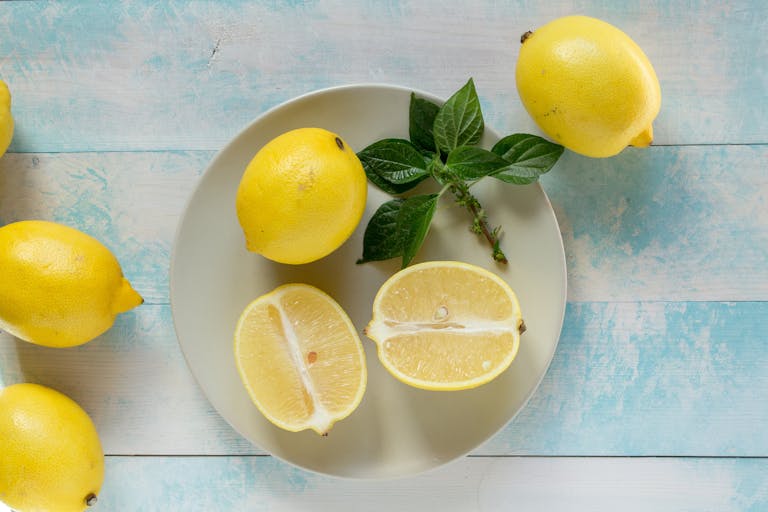
- 15-20 drops Lemon essential oil
- 5 drops Roman chamomile essential oil
- 3-5 drops Lavender essential oil
- 2-4 drops Orange essential oil
Instructions
- Fill a medium pot about half full with tap water and place on the stove. Create a double boiler and place a smaller pot inside of the medium one. Turn on stovetop to low/medium heat.
- Add shea butter, beeswax, and coconut oil to the pot and allow all ingredients to melt. Whisk to help them melt.
- Once melted, turn off stovetop heat.
- Whisk in raw honey and essential oils.
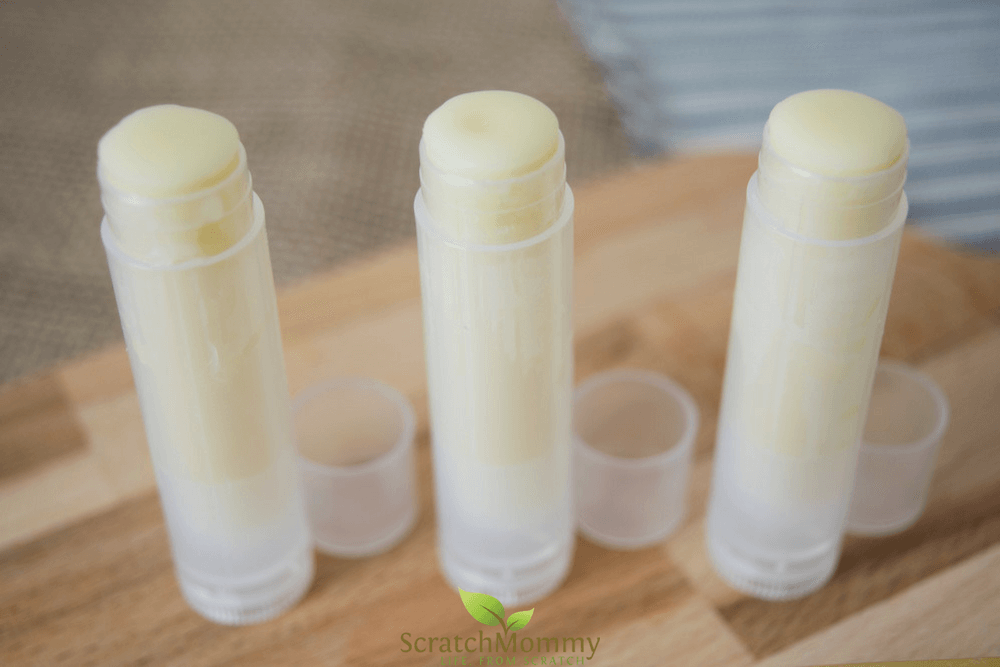
- Use a pipette or funnel to transfer hot lip balm into containers of choice.
- Allow lip balm to cool for 1 hour before use. Store in your purse, bathroom, bedside table, and hide one in a drawer at work!


I love this easy mix until I pour it into tubes. I have only done lip balm twice, but it always hardens before I can finish. I’ve tried pipittes too and it will harden in the pipe so that I can’t use it. Is there a way to stop it from hardening so fast.?
Stacy, thanks for asking! I notice if I let the water in the double boiler boil a little longer than just melting (so nice and hot!) that it won’t start cooling as soon. Hope that helps! I used a metal frosting tip to pour mine in! And I think the metal stayed hotter than a pipitte would.
Great tip! Thanks.
The honey may also be cooling it down. You could turn off the heat (or remove the pan from the burner if you are on an electric stove), but leave the bowl over the hot water while the honey dissolves. Anne implies this in the recipe, but doesn’t state exactly to keep the mix over the hot water.
I’ve tried a couple different variations on this. The first time I tried it, it was very dry and very hard, so I decided to switch up the formulation. I’m very sensitive to coconut oil, so I substituted raw cacao butter instead, and added a little vitamin-E and Marula oil for extra moisturization. This formulation definitely feels better, but I still don’t love the texture of the beeswax, is it safer to make it softer?
Oooh fun! I love your new formulation! If you don’t love the feel of the beeswax you can use less beeswax in the recipe or try a different kind of wax. We have had a few people tell us they’ve used carnauba and candelilla wax in place of beeswax. I hope this helps you!
nice recipe,had all the ingredients already 🙂 i use a bigger plastic syringe from the pharmacy store for pouring it in the containers and it works perfectly.
Yay! Glad you love it as much as we do 😊
I really like your recipe I have seen a lot but I think there something good in yours, I do have little shea butter making in Uganda, I think I need people like you to help with those good recipes for lip balm.
I made one batch with the honey, but it tended to separate out from the oils once it was poured into the tubes. I made two more batches without the honey and they came out beautifully.