Let the countdown begin…
Ah, the excitement and beauty of the Holidays! Every day more and more decorations go up. There are beautifully sparkling lights on the houses, both inside and out. And the look of wonder and amazement in our children’s faces is something to be cherished forever.
Once December 1st rolls around I love to be able help heighten that anticipation by creating DIY Countdown Calendars for my kids. And since I know that I always inevitably feel sadness wash over me once Christmas Day has come and gone, I decided to extend the celebration and joy of the Season with a New Year Countdown Calendar in addition to our usual Christmas one.
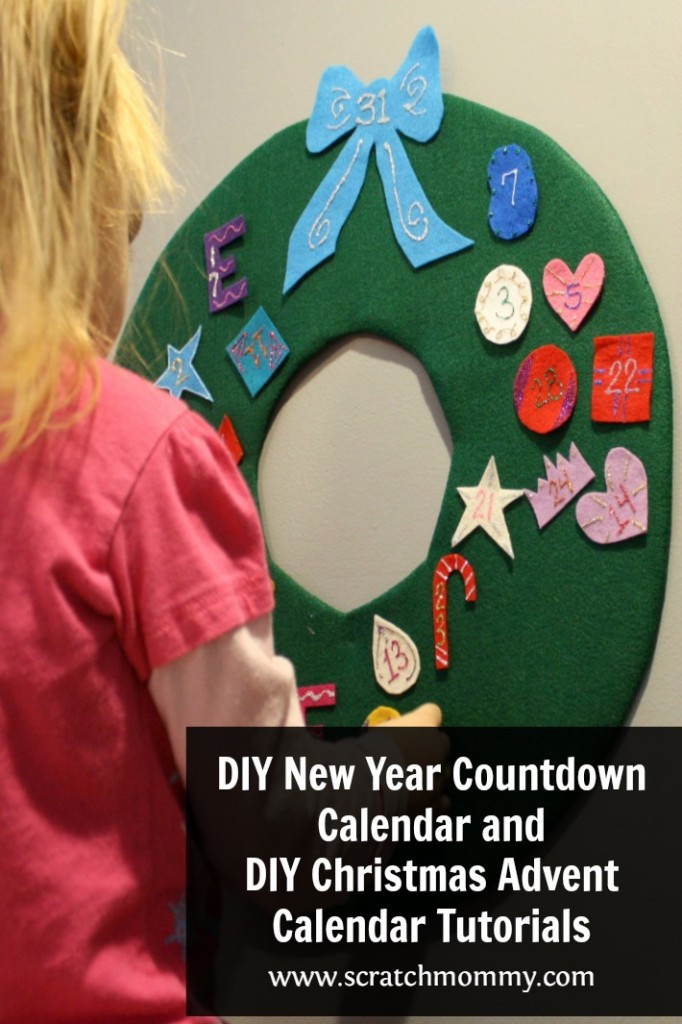
DIY New Year Countdown Calendar
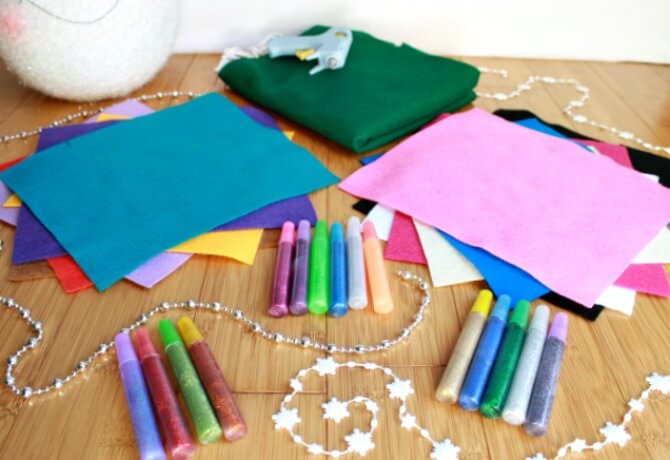
Materials Needed:
- Dark green felt fabric – approx. 80” (I used 2 of these 36”x36” pieces of green felt)
- Brown felt fabric – (1- 9″X12″ piece)
- Assorted colors felt fabric (You can buy these by the sheet at your local craft store or in a multipack like this)
- Assorted colors of glitter glue – (This glitter glue from Elmer’s is great)
- Poster Board – 2
- Scissors
- Hot glue gun and glue sticks (We love this dual temperature glue gun)

This will make one DIY New Year Countdown Calendar, which is perfect for those who either do not celebrate Christmas or want to keep the excitement of the season going right through until the New Year; and also one BONUS DIY Christmas Tree Countdown Calendar for your traditional December countdown to Christmas.
You can choose to create one of these calendars, two of one style, or even both of them and run them simultaneously! Having two calendars is also going to be particularly helpful if you have two children in the house so that they each have their own countdown calendar.
Another bonus – there is no unhealthy candy or small invaluable trinkets involved as is with more current countdown calendars! Score for the parents!
New Years Countdown Wreath Instructions:
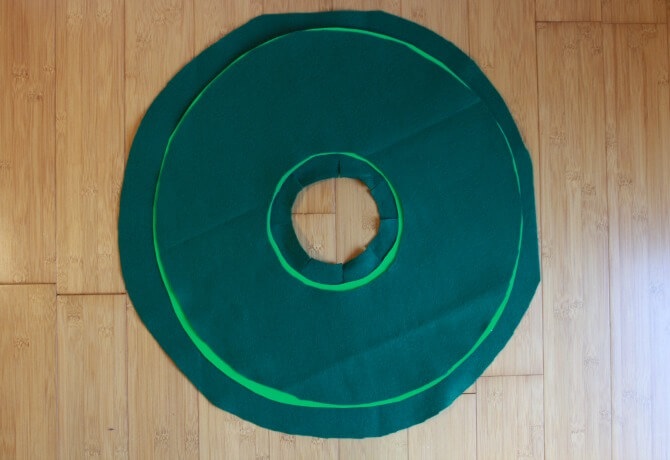
1. Using a pencil, draw the outline of your wreath on a poster board (I used a large circular serving tray to help me draw a circle). Cut the wreath out. Lay the cut out wreath on top of a large piece of the dark green felt fabric. Cut around the shape of the wreath, leaving about 1” of extra fabric all the way around the wreath.
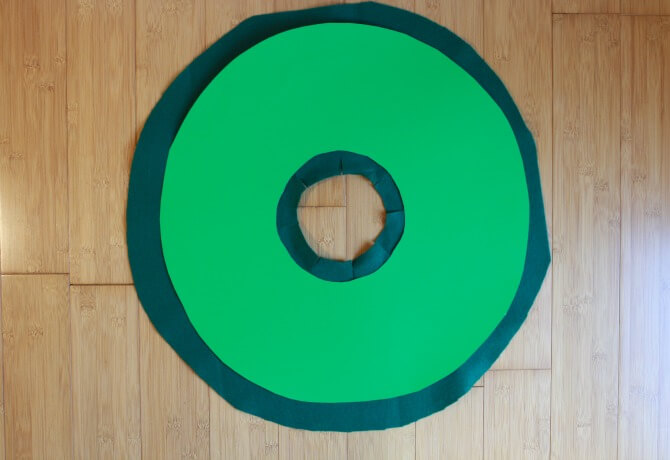
* You will need to make small cuts all around the circle of fabric so that you can fold the fabric back to be glued in the next step (see photo).
2. Fold the fabric back, all the way around the wreath shape, using scotch tape to temporarily hold it in place. Use your hot glue gun to glue the fabric to the back of the wreath cutout, removing the tape as you go along.
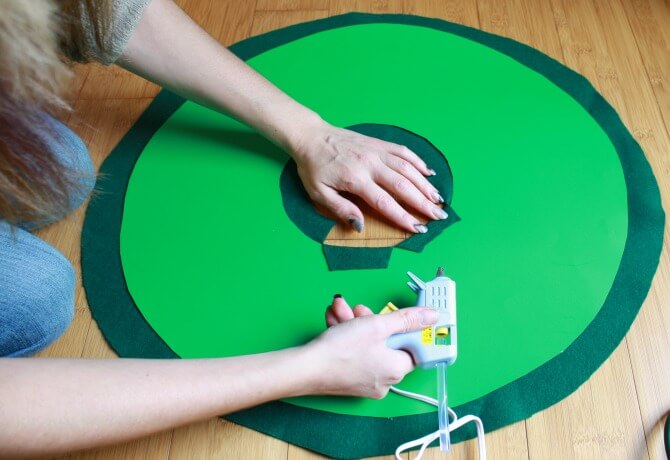
3. Once the fabric is glued into place, cut out another smaller circle, which you will glue onto the back of the wreath to cover the back and add a finished look to it.
See ornament instructions at bottom of post.

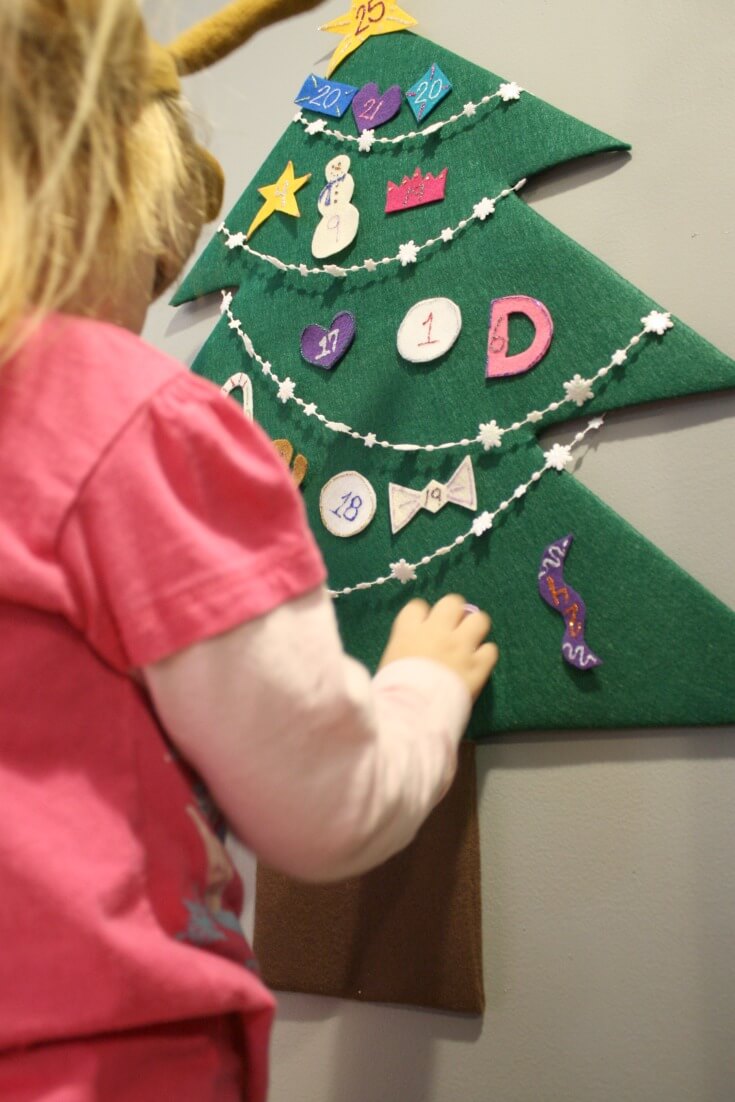
Christmas Tree Countdown Instructions:
1. Using a pencil, draw the outline of your tree on a poster board, using as much of the board as possible. Cut the tree out. Lay the cut out tree on top of a large piece of the dark green felt fabric. Cut around the shape of the tree, leaving about 1” of extra fabric all the way around the tree. *You will need to make a diagonal cut in towards each inside “tree branch”, to be able to fold the fabric around the back of the poster board, where you will glue it.
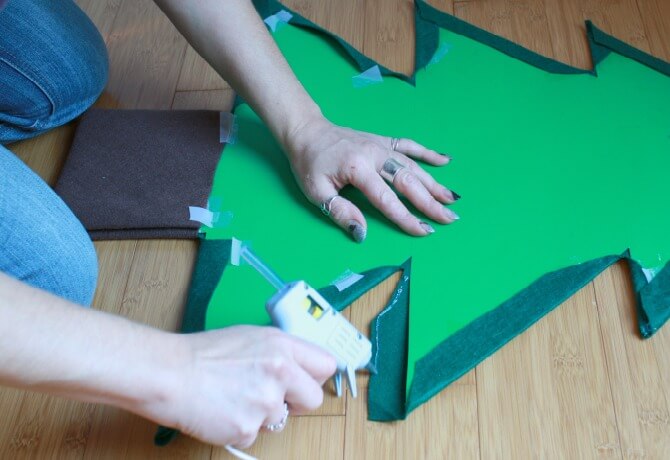
2. Fold the fabric back, all the way around the tree shape, using scotch tape to hold it in place. Use your hot glue gun to glue the fabric all the way around, to the back of the tree shape, removing the tape as you go along.
3. To give the back a more “finished look”, use your extra dark green felt fabric to cover the back of the tree over the 1” fabric fold-back (cutting it to the shape of the tree). Hot glue the back fabric in place.
4.Turn the tree over to the front. Take your brown felt fabric, and attach it to the trunk of the tree, using scotch tape to hold it in place. Hot glue this fabric in place, removing the tape as you go along.
5. Once the fabric is glued into place, use your extra fabric to cover the back of the tree, gluing it into place to cover the back and add a finished look to it.
Ornament Instructions:
1. Cut out various ornament shapes from your colored felt fabric pieces. Make them personal and a reflection of yourself and your family and kids!
For more difficult ornaments (such as the gingerbread men, and the stars) I drew the shape onto an extra piece of poster board and used that cutout as my guide for the fabric.
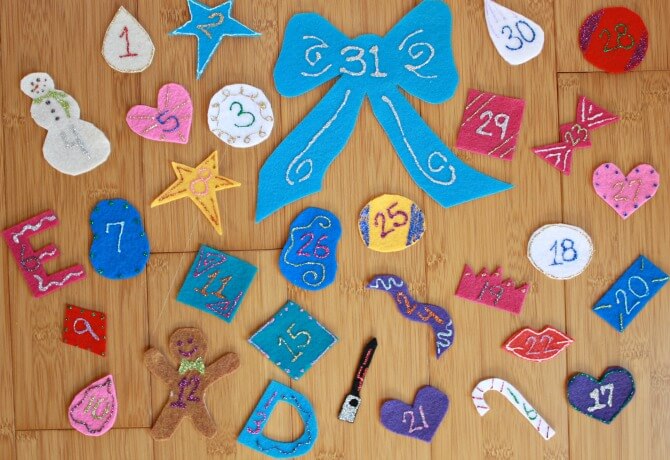

2. Once you have all your ornaments cut out you will use your glitter glue to mark each of them with a number corresponding with the days in your countdown calendar. For the Christmas calendar, I cut out a larger star, numbered it 25, and this will be placed on the top of the tree on Christmas morning.
For the New Year countdown calendar, I cut out a larger bow, numbered it 31, and this will be placed on the wreath on New Years Eve. Use the glitter glue to further decorate each ornament to your liking, making them cute and sparkly!
Using your calendar:
On December 1st, start the fun by mounting your countdown calendar to your wall (using your preferred method of attachment). Now start adding the corresponding day number onto your wreath and / or tree. The felt ornaments will stick to the felt background. That is my kids favorite part because they can keep moving the ornaments around (and they do…every day…and every night).
As the days go by, your countdown calendar will be overrun with cute, sparkly ornaments adding to the excitement for the upcoming celebrations of the New Year and / or Christmas.